Excavate the Ground
Excavating the ground for a walkway requires careful planning and precise execution. First, mark the area where the walkway will be placed, ensuring to account for the desired width and length. Use stakes or spray paint to outline the path clearly. Once marked, begin removing the top layer of soil using a shovel or a mechanical excavator, depending on the size of the area. Aim for a depth of about four to six inches to allow sufficient space for the base layer and the walkway materials.
During the excavation process, keep in mind the overall layout and slope to facilitate proper drainage. Ensuring that the ground slopes away from buildings or structures will help prevent water accumulation along the walkway. As you dig, remove any rocks, roots, or debris that could interfere with the stability of the installation. Uneven soil or obstacles can lead to problems during the walkway installation, so taking the time to prepare a clean, level surface will pay off in the long run.
Techniques for Removing Soil
When preparing for walkway installation, the first step involves removing the existing soil. You can use a shovel for small areas or manual work. For larger projects, a powered excavator or a skid-steer loader improves efficiency. Breaking up the soil with a pick or a hoe can make it easier to remove. Pay attention to the surrounding area to avoid disturbing nearby plants or structures.
After the initial removal, consider the depth needed for your walkway installation. This will depend on the type of materials selected. A consistent layer will help prevent uneven surfaces. Using tools like a soil tamper also ensures that the base is compacted. Proper preparation during this phase helps set the stage for a stable and durable walkway.
Creating a Base Layer
A solid base layer is essential for walkway installation. This layer provides stability and support for the materials used in the walkway. It helps to prevent shifting and settling over time. The choice between sand and gravel often depends on the specific features of the area. Gravel typically offers excellent drainage and is less prone to compaction compared to sand.
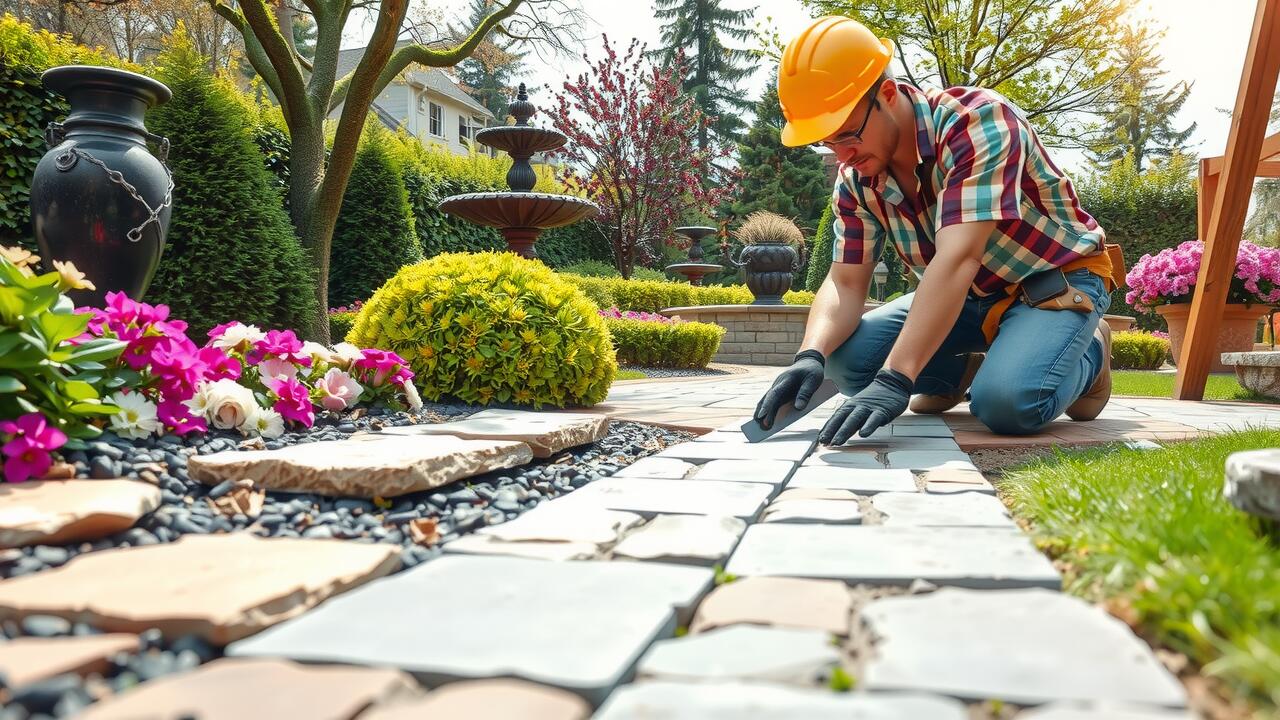
When creating the base layer, start by spreading the chosen material evenly across the excavated area. Aim for a depth of about four to six inches, ensuring a consistent level throughout. After spreading the material, use a tamper or a plate compactor to firmly pack it down. Proper compaction is vital for preventing future issues and ensuring longevity.
Choosing Between Sand and Gravel
When preparing for walkway installation, selecting the appropriate base material is crucial. Sand and gravel each have unique properties that can affect the stability and durability of the walkway. Sand is generally easier to work with, providing a smooth surface that can be easily leveled. However, it may compact heavily over time, which could lead to shifting or settling. It is important to assess the specific needs of the walkway, as well as the soil composition of the area, when considering sand as a base layer.
Gravel, on the other hand, offers excellent drainage and stability. With larger particles, gravel allows for better water flow and reduces the likelihood of erosion. Its coarser texture helps to prevent shifting, making it a suitable option for heavier foot traffic areas. When deciding between sand and gravel for your walkway installation, weigh the benefits of each material against the intended use and local climate conditions. Factors such as drainage, soil type, and load-bearing requirements should guide your choice to ensure a long-lasting and functional pathway.
Leveling the Surface
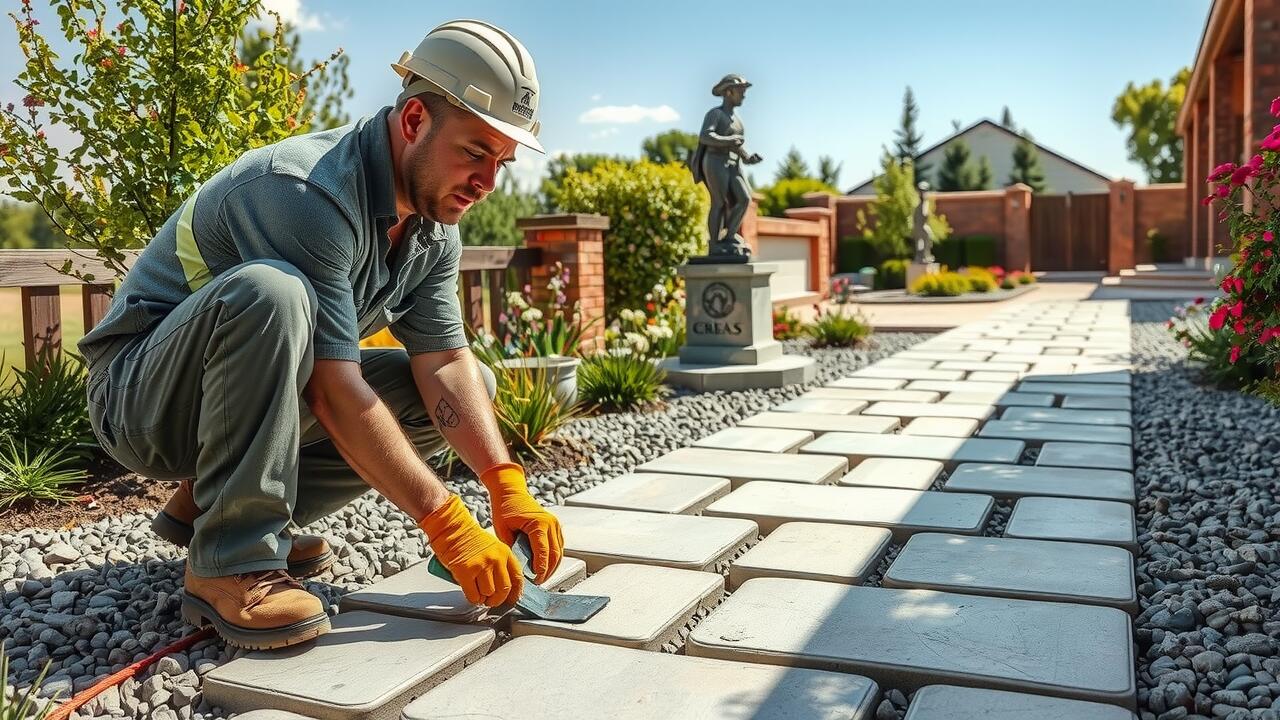
Leveling the surface is a crucial step in the walkway installation process. A properly leveled surface ensures stability and prevents water from pooling on the walkway. Begin by using a long straightedge or board to check the evenness of the soil base. Fill low spots with additional material and compact it to achieve a uniform surface height.
Once the initial leveling is complete, check the slope to ensure proper drainage. A slight slope away from any adjacent structures will help direct water runoff. Use a level tool to confirm that the surface is graded correctly. This attention to detail during the leveling phase will contribute significantly to the durability and functionality of the finished walkway.
Ensuring Proper Drainage
Proper drainage is crucial during walkway installation to prevent water accumulation that can damage the pathway over time. When excavating the ground, it’s essential to create a slight slope away from any adjacent structures. This encourages water runoff and minimizes the risk of pooling. Adding perforated drainage pipes or gravel trenches can further assist in redirecting excess water away from the surface area, ensuring longevity.
After laying the base layer, it’s important to consider how the surface will handle rain and snow. Using materials that promote drainage, such as permeable pavers or gravel, can significantly enhance water flow under and around the walkway. Regular maintenance, such as clearing debris from the surface and ensuring drainage channels remain unobstructed, will help preserve the integrity of the walkway installation over time.
FAQS
What is the first step in preparing the ground for a walkway?
The first step is to excavate the ground where the walkway will be installed. This involves removing any sod, grass, or debris to create a clear workspace.
What are some effective techniques for removing soil during excavation?
Effective techniques for removing soil include using a shovel for smaller areas, a pickaxe for harder ground, or renting a mini-excavator for larger projects to make the process easier and more efficient.
What materials can I use to create a base layer for my walkway?
You can use either sand or gravel to create a base layer. Both materials provide good drainage and stabilization, but your choice may depend on personal preference or specific project requirements.
How do I ensure that the surface of the walkway is level?
To ensure a level surface, use a long, straight board or level to check for evenness across the walkway area. Make adjustments by adding or removing soil as necessary to achieve a flat surface.
Why is proper drainage important when preparing ground for a walkway?
Proper drainage is essential to prevent water pooling on the walkway, which can lead to erosion, cracking, and other damage over time. Ensuring the ground is graded away from structures and the walkway itself will help manage water runoff effectively.