Filling Cracks in Concrete
Filling cracks in concrete is essential for maintaining the integrity and appearance of your surfaces. Over time, exposure to weather and wear can cause cracks to form, leading to potential structural issues. Assessing the size and depth of the cracks is a crucial first step in the concrete repair process. Smaller cracks can often be filled with a simple masonry crack filler or caulk, while larger cracks may require more specialized repair methods and materials.
Once the appropriate materials are selected, preparation is key. Clean the area thoroughly to remove dirt, debris, and any loose particles. This ensures proper adhesion of the filler material. After cleaning, apply the filler according to the manufacturer’s instructions, ensuring an even application that fills the crack completely. Smooth out the surface for a uniform look. Following these steps will help extend the life of your concrete and provide a more aesthetically pleasing finish.
Step-by-Step Crack Filling Process
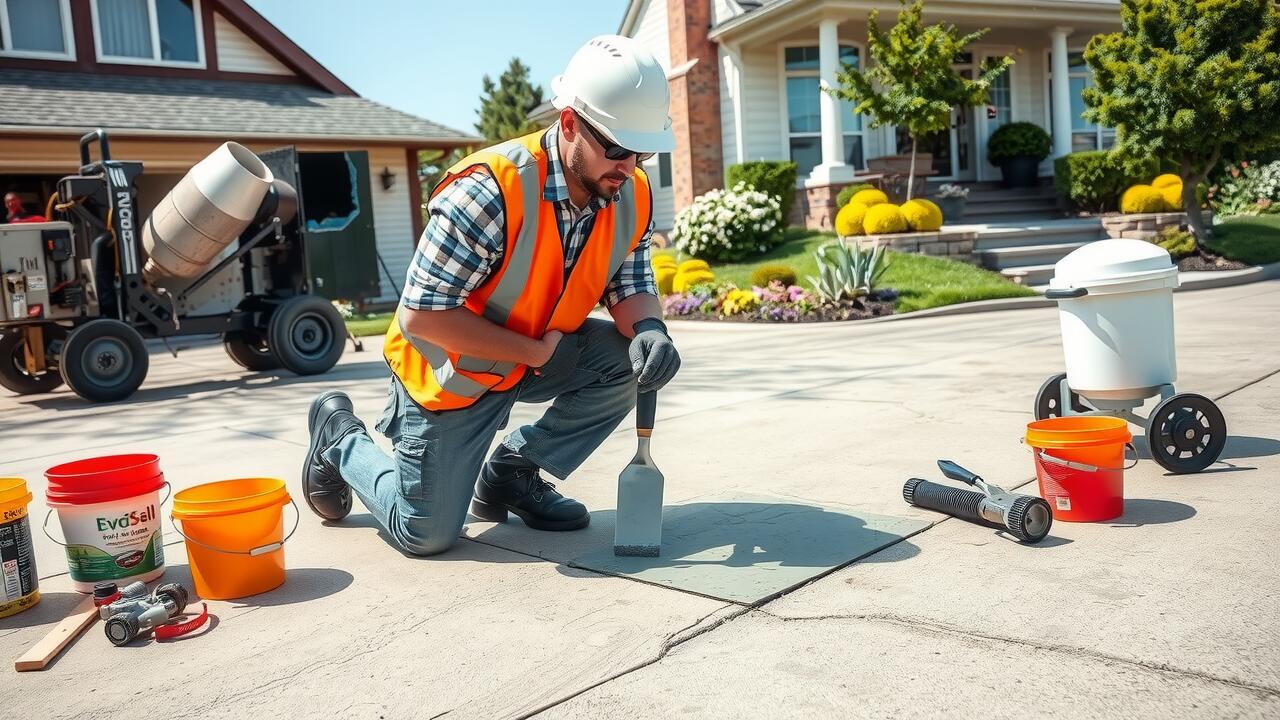
Before beginning the crack filling process, gather the necessary materials such as a chisel, wire brush, and concrete repair compound. Start by cleaning the crack to ensure proper adhesion. Remove any loose debris and dust using a wire brush, and if the crack is deep, you may want to widen it slightly with a chisel to create a more effective bonding surface. This preparation step is vital for achieving a durable repair.
Once the crack is clean, apply the concrete repair compound. Use a putty knife or a similar tool to push the compound into the crack, ensuring it fills the entire space and adheres well to the surrounding concrete. Smooth out the surface with the tool for a neat finish. Follow the manufacturer’s instructions on drying time before exposing the repaired area to any load or moisture. Proper execution of these steps will contribute to a lasting concrete repair solution.
Resurfacing Concrete Surfaces
Resurfacing concrete surfaces is an effective method to restore their appearance and improve durability. Various types of resurfacing materials are available, allowing homeowners to choose one that best fits their needs. The process involves cleaning the surface thoroughly to ensure proper adhesion before applying the new layer. Depending on the condition of the existing concrete, a primer may also be necessary to enhance bonding.
After preparation, the resurfacer is mixed according to the manufacturer’s instructions. It’s crucial to apply the mixture evenly using a squeegee or trowel, ensuring complete coverage of the area. This technique not only addresses minor imperfections but also provides an opportunity for decorative finishes, transforming a worn surface into a visually appealing space. Effective concrete repair through resurfacing can significantly extend the life of the concrete and improve its overall functionality.
How to Apply a Concrete Resurfacer
Applying a concrete resurfacer involves several essential steps to ensure a smooth and durable finish. First, clean the surface thoroughly to remove any dirt, grease, or loose debris. This may require pressure washing or scrubbing with a concrete cleaner. Once the surface is clean, let it dry completely before proceeding to the next step. It’s also important to repair any cracks or spalling beforehand, as these issues can affect the quality of the resurfacing.
Mix the concrete resurfacer according to the manufacturer’s instructions, achieving a consistency that can be applied easily with a trowel or squeegee. Start at one corner of the area and apply the resurfacer evenly, working in small sections to avoid premature drying. Use a roller or trowel to smooth it out, ensuring a uniform thickness across the surface. Concrete repair requires careful attention during application to avoid trapped air or imperfections that may compromise the finished product.
Repairing Spalling Concrete
Spalling concrete occurs when the surface layer of concrete flakes or chips away, often due to moisture infiltration and freeze-thaw cycles. To effectively repair spalled areas, it is essential first to remove any loose debris and ensure the area is clean. Using a wire brush or a pressure washer can help in eliminating any dust, dirt, or deteriorating concrete. Once the surface is prepared, applying a concrete repair compound that adheres well to existing concrete can restore the integrity of the surface.
After applying the repair compound, it’s critical to allow it to cure properly. Follow the product instructions regarding drying times and conditions for optimal results. Keeping the repaired area moistened during the curing process can prevent new spalling from occurring. By taking these steps, homeowners can achieve a long-lasting repair that enhances both the durability and appearance of their concrete surfaces.
Effective Strategies for Spalling Repair
Spalling occurs when the surface layer of concrete begins to chip or flake away, often exacerbated by environmental factors or a lack of proper sealing. One effective strategy for repairing spalling concrete is to remove the damaged layer completely. Start by using a chisel or a grinder to remove the loose pieces and create a clean, solid surface. This preparation is crucial for ensuring that any repair materials bond properly to the remaining concrete.
After surface preparation, applying a concrete repair compound is essential. Choose a high-quality epoxy or polymer-modified repair mix designed for spalling. Follow the manufacturer’s instructions for mixing and application. Using a trowel, fill in the affected areas thoroughly, ensuring to smooth out the surface for a cohesive finish. This approach not only addresses existing damage but also helps prevent future spalling by providing a durable and resilient surface.
FAQS
What tools do I need to repair damaged concrete?
To repair damaged concrete, you typically need tools like a chisel, hammer, wire brush, concrete patching compound, trowel, and safety gear such as gloves and goggles.
How long does it take for concrete repair to set?
The setting time for concrete repairs can vary, but most patching compounds set within a few hours. However, it’s best to allow 24 to 48 hours for full curing before placing any weight on the repaired area.
Can I repair cracked concrete myself, or should I hire a professional?
Many minor concrete repairs, like filling cracks or resurfacing, can be done by homeowners with the right tools and materials. However, for extensive damage or structural issues, hiring a professional is recommended.
What is the difference between filling cracks and resurfacing concrete?
Filling cracks involves repairing specific fissures in the concrete surface, while resurfacing is a process that covers the entire surface with a thin layer of concrete to improve its appearance and durability.
How can I prevent future damage to my concrete surfaces?
To prevent future damage, ensure proper drainage, apply sealants, perform regular maintenance, and address any cracks or spalling as soon as they appear.