Month: May 2025
Regional Cost Variations
Regional cost variations significantly impact the overall expense of driveway installation. Prices can differ widely based on geographic location, primarily due to variations in labor costs, materials, and local regulations. In metropolitan areas, where demand for construction services is higher, home and business owners may find that driveway installation costs are elevated. Conversely, rural areas often present lower labor rates and material costs, which can lead to reduced overall prices for similar projects.
The climate and terrain of a region also influence the cost of driveway installation. In areas prone to severe weather conditions, additional measures such as reinforced materials or specialized drainage solutions become necessary, driving up expenses. Local building codes and regulations may further complicate the pricing structure, as homeowners might need to comply with stricter guidelines in certain regions. This variability highlights the importance of obtaining local estimates to accurately gauge the financial implications of driveway installation.
Urban vs. Rural Pricing
Urban areas typically face higher costs for driveway installation. This price increase is often due to greater demand for services, higher labor costs, and the expense associated with obtaining permits in densely populated regions. In cities, limited space may also require specialized equipment for installation, which further drives up the total expense.
In contrast, rural locations often enjoy more competitive pricing for driveway installation. These areas may have lower labor costs and fewer regulations, making it easier for contractors to offer reasonable rates. Additionally, land availability allows for simpler installation processes without the need for complex machinery or logistical considerations, ultimately resulting in a more affordable overall project.
Driveway Size and Layout
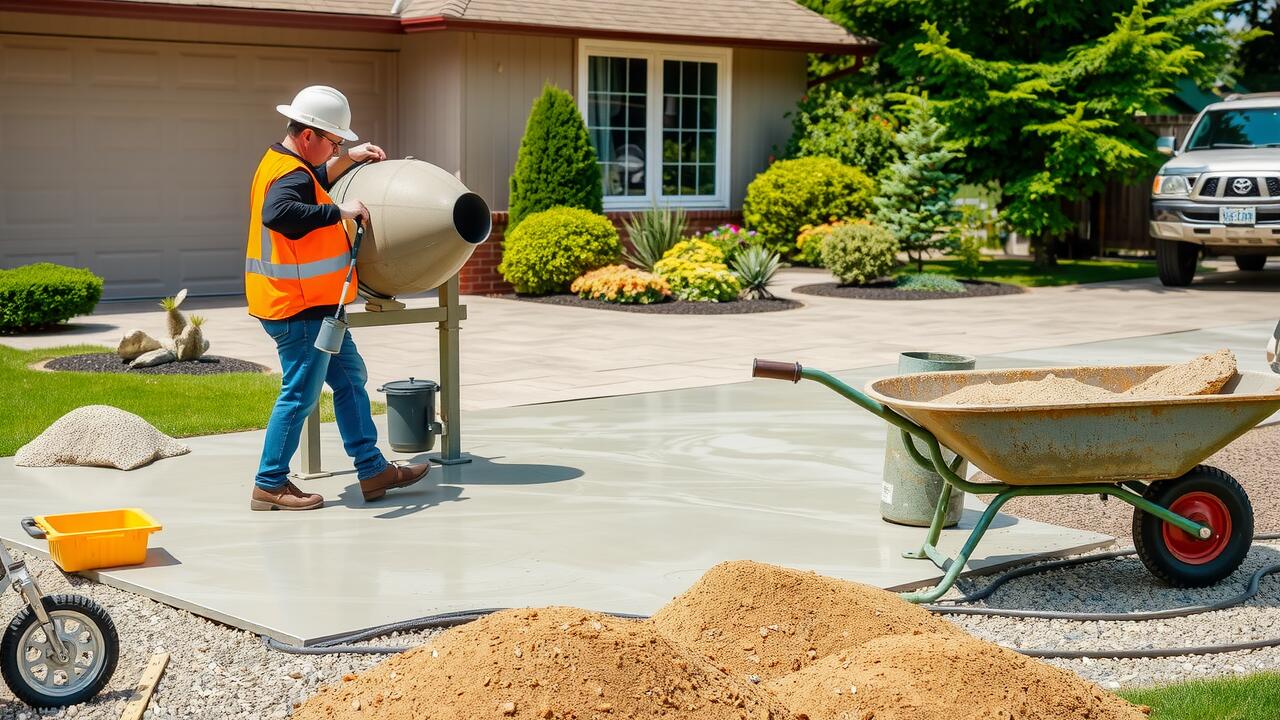
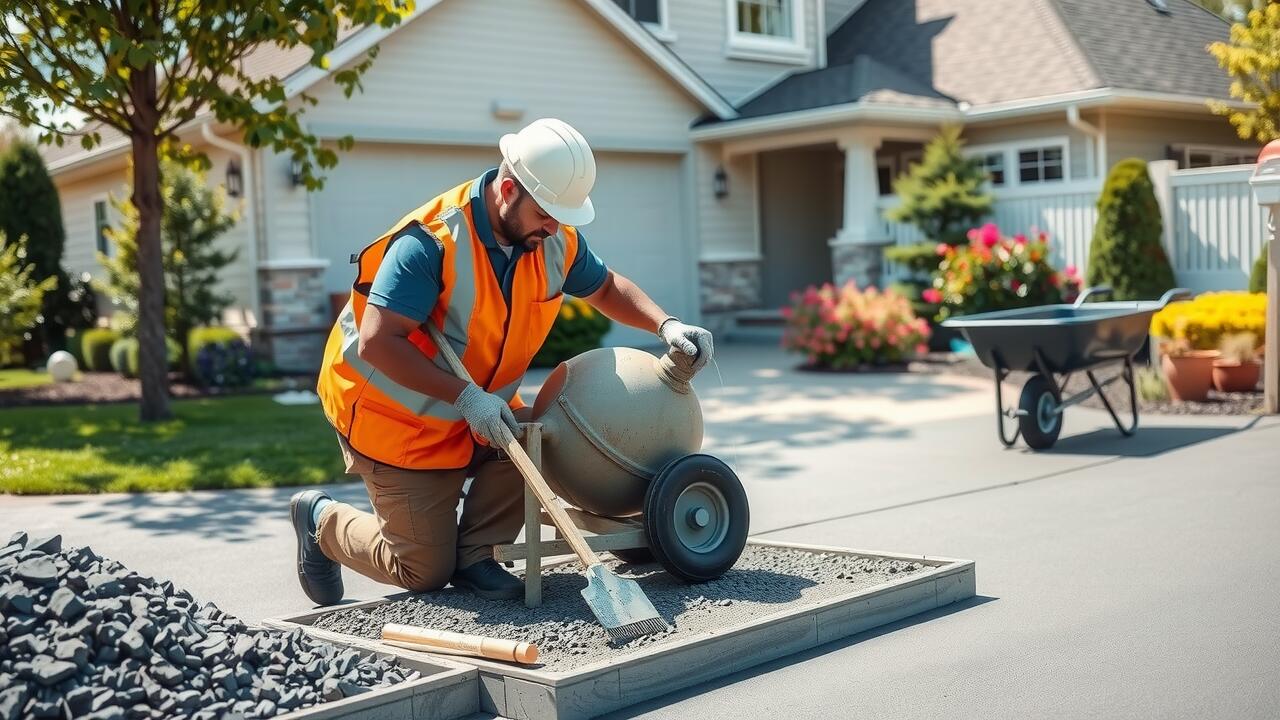
The size and layout of a driveway play significant roles in determining overall costs. A standard 100-foot driveway may vary in price depending on its width and the chosen materials. Typically, a wider driveway requires more material, which increases labor and installation costs. Additionally, the layout can impact the complexity of the project. A straight driveway is usually more affordable than one with curves or complicated entry points.
Driveway installation costs also depend on the terrain and site preparation necessary for the project. A level surface is generally less expensive to work on, while a sloped or irregularly shaped lot might require additional grading, thus affecting the total price. If the driveway layout necessitates extensive excavation or the installation of retaining walls, these factors will further influence the final cost.
Impact of Driveway Shape on Cost
The shape of a driveway can significantly influence the overall cost of installation. Straight driveways typically require less material and labor than curved or complex designs. A straightforward layout might also allow for quicker completion, reducing labor costs. In contrast, intricate shapes often necessitate additional planning, grading, and possibly higher-quality materials to achieve the desired aesthetic and functionality. Such complexities can raise both time and financial investment during the construction process.
Furthermore, the driveway’s orientation and its relationship to the home can also affect costs. A shape that requires unique features like retaining walls or additional drainage solutions might increase expenses. Homeowners should consider not just the initial installation costs but also long-term maintenance aspects associated with various shapes. The right design can enhance curb appeal while balancing functionality with budget.
Additional Features and Upgrades
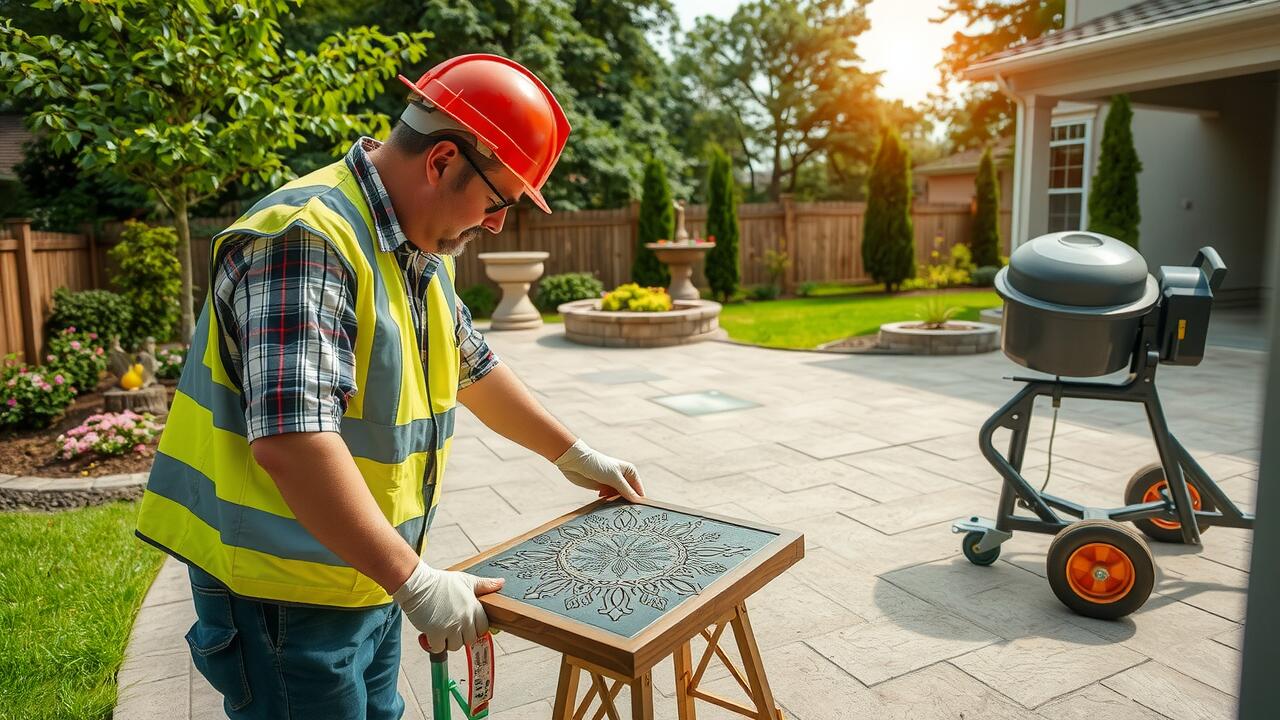
When considering driveway installation, additional features can significantly affect the overall cost. Options such as decorative edging, integrated lighting, or patterns can enhance the aesthetic appeal and functionality of a driveway. Decorative materials like bricks or pavers may also increase expenses, but they offer a custom look that many homeowners desire. Homeowners should weigh the benefits of these upgrades against their budget.
Drainage solutions are another critical aspect of driveway installation that can influence pricing. Proper drainage not only prevents water pooling but also extends the life of the driveway. Implementing features like French drains or grading may add to the initial costs but can save money on repairs over time. Prioritizing effective drainage can ensure the longevity and safety of the driveway, making it a wise investment.
Drainage Solutions
Proper drainage solutions are essential for any driveway installation, especially in areas prone to heavy rainfall or where the soil may retain water. Installing drainage systems can prevent issues such as erosion, pooling water, and structural damage to the driveway. Options include trench drains, surface drains, and French drains, each addressing specific site conditions and water flow patterns. The choice of drainage system impacts the overall cost of the installation, given the labor and materials involved.
Incorporating effective drainage not only enhances the longevity of the driveway but also ensures safety for vehicles and pedestrians. Poor drainage can lead to more significant issues over time, which may require extensive repair or replacement. Homeowners should consider these factors when budgeting for driveway installation. Upfront costs associated with drainage solutions can save money in the long run by mitigating future problems associated with water damage.
FAQS
What is the average cost of a 100 ft driveway?
The average cost of a 100 ft driveway can range from $1,500 to $12,000, depending on materials, location, and additional features.
How do regional variations affect driveway costs?
Regional variations can significantly impact driveway costs, with urban areas typically having higher labor and material costs compared to rural locations.
Does the shape of the driveway influence the overall cost?
Yes, the shape and layout of the driveway can influence the cost, as more complex designs may require additional materials and labor.
Are there additional costs associated with features like drainage?
Yes, incorporating drainage solutions and other upgrades can increase the overall cost of a driveway, potentially adding several hundred to thousands of dollars depending on the complexity.
Can I reduce the cost of my driveway installation?
Yes, you can reduce costs by choosing more affordable materials, simplifying the design, or opting for a DIY installation if you have the necessary skills.
Related Links
Wooden Decking as a Patio Option
Wooden decking serves as a popular choice for patio installation due to its natural aesthetic appeal. It can seamlessly blend with various landscapes, enhancing the overall atmosphere of outdoor spaces. Available in different wood types, homeowners often appreciate the warmth and richness it brings. The ability to stain or paint the wood allows for customization, enabling individuals to match their patio to their home’s exterior or garden themes.
In addition to its visual versatility, wooden decking offers durability when properly maintained. Regular sealing and treatment can significantly extend the life of the materials. The installation process remains user-friendly, making it accessible for DIY enthusiasts. With a solid foundation and basic tools, many homeowners can successfully complete their own patio installation, enjoying a functional and stylish outdoor area for years to come.
Natural Look and Versatility
Wooden decking is a popular choice for homeowners seeking a patio that blends seamlessly with natural surroundings. Its organic look enhances the aesthetic appeal of outdoor spaces and provides a warm, inviting atmosphere. The variety of wood types available allows for customization, catering to diverse tastes and preferences. This flexibility ensures that a wooden deck can complement any architectural style and landscape design.
The versatility of wooden decking extends beyond its appearance. It can be easily shaped to fit any area, making it a suitable option for both large and small spaces. During patio installation, considerations such as slope, drainage, and surrounding flora can be easily accommodated, allowing for creative layouts. With the right maintenance, a wooden deck can also offer durability, standing up to various weather conditions while maintaining its charm.
Utilizing Flagstone for Patios
Flagstone is a popular choice for patio installation due to its natural beauty and durability. Each stone offers unique textures and colors, allowing for a custom look that can enhance any outdoor space. The individual pieces can be arranged in various patterns, providing homeowners with ample opportunities for creativity. This versatility enables designers to craft patios that complement both modern and traditional aesthetics, making flagstone a favored option for those looking to elevate their outdoor areas.
In addition to aesthetics, flagstone patios are also practical. The stones are known for their ability to withstand various weather conditions, ensuring longevity in your patio installation. Drainage is typically not a problem, as the natural gaps between the stones allow for water runoff. This feature also leads to fewer maintenance issues, making flagstone an appealing choice for busy homeowners who may not have time for extensive upkeep.
Creativity in Design and Texture
Flagstone offers a unique opportunity for creativity in patio design. With its natural variations in color and texture, each slab creates an individual look that enhances the overall aesthetic of a garden or yard. Homeowners can mix different sizes and shapes of stones to create custom patterns, or they can opt for a more traditional layout. This flexibility allows for personal expression while still maintaining a cohesive appearance.
Incorporating flagstone into patio installation also opens up possibilities for integrating various landscaping elements. The grooves and spaces between stones can be filled with gravel or planted with small ground cover plants, adding depth and visual interest. This not only enriches the design but also enhances the natural feel of the outdoor space, making it an inviting area for relaxation or entertaining.
The Simplicity of Crushed Stone Patios
Crushed stone patios offer a practical solution for those seeking an easy and affordable installation process. These patios require minimal preparation, making them a straightforward choice for DIY enthusiasts and homeowners. By simply leveling the ground and adding a layer of crushed stone, one can create a functional outdoor space that complements any garden or yard. The range of stone sizes allows for customization, providing options that suit personal preferences and aesthetic goals.
In addition to their ease of installation, crushed stone patios are highly versatile. They can be arranged in various patterns or mixed with other materials for added visual interest. This type of patio installation promotes good drainage, helping to prevent water pooling and maintaining the integrity of the surface. With little maintenance required, crushed stone patios are an ideal choice for those looking for a low-effort, durable outdoor area.
Affordable and Straightforward Installation
Crushed stone patios offer an accessible option for those looking to create an outdoor space without the complexities of traditional materials. The installation process is straightforward, requiring minimal tools and expertise. Homeowners can easily clear and level the area, followed by laying down a base layer of crushed stone. This method not only simplifies patio installation but also provides a solid foundation for any future enhancements, like adding outdoor furniture or decorative elements.
Another advantage of using crushed stone is its affordability. The materials are typically less expensive than wood or stone slabs, making it a popular choice for budget-conscious individuals. The quick installation process means that homeowners can enjoy their new patio without a long wait. Crushed stone patios can be customized in terms of color and size to suit personal preferences, leading to a unique outdoor space that remains easy to maintain over time.
FAQS
What is the easiest type of patio to install?
The easiest type of patio to install is often a crushed stone patio, as it requires minimal preparation and can be laid down quickly.
Are wooden decking patios a good choice for beginners?
Yes, wooden decking patios can be a good choice for beginners, especially if pre-cut materials are used, making the installation process more manageable.
How does flagstone compare to other patio materials in terms of installation?
Flagstone can be more challenging to install due to its irregular shapes and the need for proper leveling, but it offers creative design possibilities.
What are the advantages of a crushed stone patio?
Crushed stone patios are affordable, easy to install, and provide good drainage, making them a practical choice for many homeowners.
Can I install a patio myself, or should I hire a professional?
Many homeowners can successfully install a patio themselves, especially with simpler options like crushed stone, but hiring a professional may be beneficial for more complex materials like flagstone.
Related Links
Regional Variations in Patio Installation Costs
Patio installation costs can vary significantly across different regions in the United States. Urban areas often experience higher labor and material prices due to demand and higher living costs. In cities like New York and San Francisco, homeowners might pay a premium for installation compared to those in smaller towns or rural areas. Factors such as regional climate and available local materials can also influence pricing, with some regions benefiting from natural stone or brick that may not be readily available elsewhere.
Conversely, rural locations typically boast lower costs for patio installation, reflecting less competition and a more affordable workforce. Homeowners in these areas might find better rates on materials as well, particularly if they can source local options. While this can lead to overall lower project costs, homeowners should still consider the proximity of skilled contractors, as this can impact both pricing and the quality of the installation.
Urban vs. Rural Pricing
When considering patio installation, location plays a significant role in determining overall costs. Urban areas often face higher labor and material expenses due to increased demand and limited space. Contractors in cities typically charge more for their services to cover overhead costs associated with running a business in a densely populated environment. Supplies may also be more expensive in urban centers, where access to construction materials can be more challenging.
In contrast, rural regions usually experience lower patio installation costs. The availability of open land often results in decreased competition among contractors, leading to more favorable pricing for homeowners. Labor costs tend to be lower in these areas, as workers may not demand the same wages as their urban counterparts. Additionally, transportation costs for materials can be less burdensome when contractors source supplies locally, contributing to overall savings on the installation.
Seasonal Trends in Patio Installation Pricing
Patio installation pricing is significantly influenced by seasonal trends. Demand for outdoor projects often peaks in spring and summer months as homeowners seek to enhance their outdoor living spaces. This surge in demand generally leads to higher costs for materials and labor. Availability of contractors can also become limited during these busy seasons, potentially increasing prices further.
In contrast, fall and winter months typically see a decline in patio installation projects. Landscapers and contractors often lower their rates to attract clients during these off-peak seasons. Homeowners willing to brave cooler weather may benefit from lower installation costs and greater availability of skilled labor. Planning patio installation during these quieter months can result in significant savings, along with the opportunity to avoid the summer rush.
Best Times to Install a Patio
Timing plays a crucial role in patio installation. The early spring months, from March to May, are often considered ideal for laying patios. Homeowners can take advantage of milder weather conditions, which not only make the work easier for contractors but also ensure that materials settle properly. Fall, particularly September through November, is another favorable window, as the humidity levels drop and the temperatures cool down.
Choosing the right season can also influence the overall cost of patio installation. Demand for landscaping and outdoor projects tends to peak during warmer months, potentially leading to higher labor and material costs. Conversely, scheduling the installation during the shoulder seasons may yield better prices, as contractors often have greater availability and are more inclined to offer lower rates to secure work during less busy times.
Long-term Maintenance Costs of Patios
Maintaining a patio involves various long-term costs that can impact the overall investment. Regular cleaning is essential to prevent the buildup of dirt, algae, and other debris. Depending on the materials used in the patio installation, certain cleaners or tools may be necessary, resulting in additional expenses. Over time, weather conditions can lead to wear and tear, necessitating periodic resealing or repairing of pavers, which can also add to maintenance costs.
In addition to cleaning and repair needs, potential homeowners should consider the implications of seasonal weather changes on their patio. Harsh winters can cause cracking in materials like concrete or stone, while extreme heat can lead to fading or shifting. Investing in quality materials during the patio installation can reduce long-term maintenance expenses, but some cost will always remain for upkeep. Regular inspections and timely repairs will extend the life of the patio, ensuring it remains a valuable outdoor space.
Cleaning and Repair Needs
Proper maintenance is essential for the longevity and appearance of a patio after installation. Regular cleaning helps prevent the buildup of dirt, moss, and algae, which can lead to slippery surfaces and staining. Pressure washing is often recommended to remove stubborn grime, but care must be taken not to damage the materials. Additionally, sealing the patio can protect against weather-related wear while enhancing its look.
Repair needs may arise over time, especially in regions with extreme weather conditions. Cracks and chips can occur due to shifting ground or heavy use. It is crucial to address these issues promptly to prevent further damage and maintain safety. Regular inspections after patio installation can help identify potential problems early on, saving homeowners from expensive repairs later.
FAQS
What is the average cost to lay a patio?
The average cost to lay a patio typically ranges from $8 to $20 per square foot, depending on materials and labor.
How do regional variations affect patio installation costs?
Regional variations can significantly impact patio installation costs due to differences in labor rates, material availability, and local demand.
What are the best times of year to install a patio?
The best times to install a patio are usually in the spring and fall when weather conditions are more favorable, and contractors are less busy.
What long-term maintenance costs should I expect for my patio?
Long-term maintenance costs for patios can vary, but you should budget for regular cleaning, sealing, and occasional repairs, which can total $100 to $500 annually.
Do urban areas have higher patio installation costs compared to rural areas?
Yes, urban areas often have higher patio installation costs due to increased labor rates and possibly higher material costs, whereas rural areas may offer more competitive pricing.
Related Links
Cost Comparison with Other Patio Types
When considering a 20×20 patio installation, it’s essential to evaluate the cost differences among various materials. Concrete is typically the most affordable option, making it a popular choice for homeowners. In contrast, stone and paver patios can significantly increase the overall cost. These materials offer unique aesthetic benefits but often come with higher installation and maintenance expenses.
Composite materials present a middle ground in pricing. While they may cost more than concrete initially, their long-term durability and low maintenance requirements can lead to savings over time. Assessing the initial expenditure alongside the potential upkeep costs is crucial when determining the best patio option for your outdoor space.
Stone, Pavers, and Composite
When considering the various materials for patio installation, stone, pavers, and composite options each come with distinct characteristics. Stone provides a natural aesthetic and long-lasting durability. However, the cost can be significantly higher due to the material itself and the labor involved in installation. Pavers offer versatility in design and layout, along with a wide range of colors. The installation process is typically simpler than stone, which can help keep costs lower. Composite materials are gaining popularity for their lightweight structure and resistance to rot and fading, though they may require replacements sooner than traditional materials.
Each option has its pros and cons in terms of maintenance and appearance. Stone patios may require sealing to maintain their integrity over time. Pavers can shift or settle, making regular maintenance a necessity. Composite materials, while low-maintenance, might lack the classic look that stone or pavers provide. Evaluating the aesthetics, durability, and upkeep of each material is essential when planning your patio installation. Understanding these factors can ultimately influence your budget and satisfaction with the finished product.
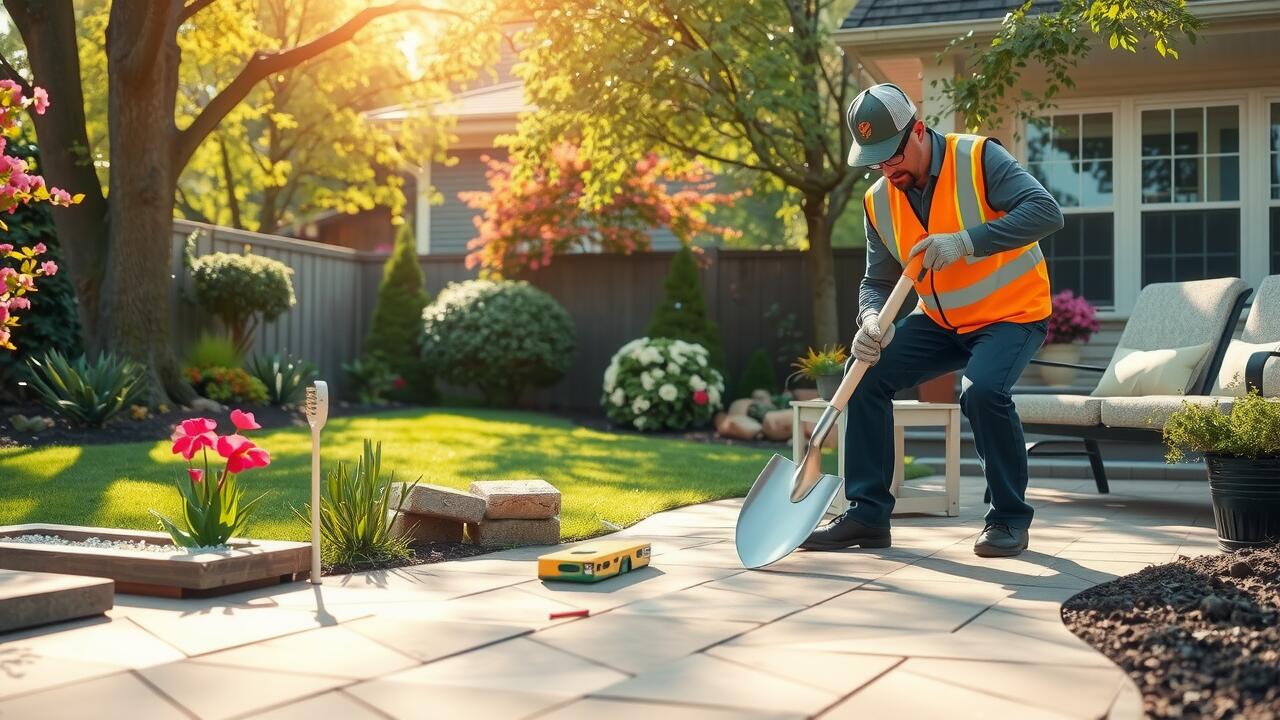
DIY vs. Professional Installation
Many homeowners consider DIY approaches for patio installation as a way to save on labor costs. Taking on this project can be rewarding for those with sufficient skills and tools. Basic concrete pouring can be manageable with proper preparation and research. However, unforeseen challenges can arise, such as difficulty in leveling or curing the concrete. These missteps can lead to costly repairs or a less-than-desirable final look.
Hiring professionals for patio installation may entail higher initial costs but offers several advantages. Experienced contractors possess the expertise to ensure the concrete is mixed, poured, and finished correctly. Their knowledge can prevent issues that inexperienced DIYers might face, resulting in a smoother and more durable surface. For those who want a perfectly finished patio without the hassle, relying on skilled professionals can provide peace of mind.
Pros and Cons of Each Approach
When considering DIY patio installation, one significant advantage is cost savings. Homeowners can avoid labor expenses by taking on the project themselves. This approach also allows for greater control over the timeline and design choices. However, it requires a considerable amount of physical labor and may demand skills in various areas such as concrete mixing and finishing techniques. If mistakes occur during the process, they can lead to additional costs and extended project timelines.
On the other hand, hiring professionals for patio installation offers expertise and experience that can ensure a high-quality finished product. Professionals are familiar with local codes, can efficiently manage materials, and usually provide warranties on their work. Despite these benefits, the cost can be substantially higher than a DIY approach. Homeowners must also consider the scheduling flexibility, as professional contractors may have limited availability, which could delay the start of the project.
Seasonal Pricing Variations
The cost of patio installation can vary significantly based on seasonal demand. Many homeowners schedule their projects during the warmer months, leading to increased demand for materials and labor. This heightened demand often results in higher prices for concrete, labor, and equipment rentals. Contractors may charge more during peak season, which is typically late spring through early fall, as they seek to capitalize on the influx of customers looking to complete outdoor projects.
Conversely, winter months often see a decline in patio installation projects. With colder temperatures and the potential for inclement weather, many contractors reduce their rates to attract clients. Homeowners may find that scheduling a patio installation during the off-season can save them money, provided they are willing to navigate the challenges posed by colder weather. This seasonal pricing fluctuation can significantly impact the overall budget for a patio project.
Best Times to Pour Concrete
Timing is crucial when planning a patio installation to ensure the best results. Late spring and early fall are often considered ideal for pouring concrete. During these seasons, temperatures are more moderate, minimizing the risk of rapid drying or freezing, which can negatively affect the curing process. Additionally, these times typically see less rainfall, reducing the likelihood of weather-related delays.
Summer may seem like a suitable option due to longer days, but high temperatures can lead to quick evaporation of water, risking cracks in the concrete. Winter, on the other hand, presents challenges with cold temperatures and frost. It is essential to choose the right time of year to achieve a durable and aesthetically pleasing patio installation that aligns with your overall landscape design.
FAQS
What is the average cost to pour a 20×20 concrete patio?
The average cost to pour a 20×20 concrete patio typically ranges from $2,000 to $4,000, depending on factors like location, labor costs, and the complexity of the design.
How does the cost of a concrete patio compare to stone or paver patios?
Generally, concrete patios are more affordable than stone or paver patios. Stone patios can cost significantly more due to material and installation complexities, while paver patios may be comparable in price but often require more maintenance.
Can I save money by installing the patio myself?
Yes, opting for a DIY installation can save you money on labor costs. However, it is important to consider your skill level and the necessary equipment, as mistakes can lead to additional expenses.
What are the pros and cons of hiring a professional for patio installation?
Hiring a professional can ensure a high-quality and durable finish, but it comes with a higher cost. On the other hand, DIY installation allows for savings but may result in a less polished look if not done correctly.
Are there seasonal variations that can affect patio pouring costs?
Yes, costs can vary seasonally. For example, prices may be lower in the winter months when demand decreases, while spring and summer are peak seasons, leading to higher prices due to increased demand.
Related Links
Regional Preferences in Driveway Types
Regional preferences for driveway types often reflect local climate, topography, and cultural influences. In areas with heavy rainfall or snow, homeowners typically favor materials that can withstand harsh weather conditions. Concrete and asphalt driveways are common choices in urban environments due to their durability and ease of installation. Conversely, more rural settings may see a trend towards gravel or brick driveways, which complement the natural landscape and offer a unique aesthetic appeal.
Driveway installation varies by region based on these preferences. In the South, for example, homeowners often opt for decorative concrete or interlocking pavers that can withstand the heat and humidity. In contrast, the Northwest might see an inclination towards permeable options that promote drainage and reduce runoff in areas prone to heavy rain. Tailoring driveway choices to meet local expectations not only enhances the property’s value but also ensures functionality within the community context.
Tailoring Choices to Local Trends
Understanding regional preferences plays a crucial role in choosing the right driveway design. Homeowners should consider the materials and styles popular in their area. For instance, suburban neighborhoods may prioritize concrete or asphalt for their durability, while more rural settings might favor gravel or stone for aesthetics and cost-effectiveness. Aligning with local trends can significantly enhance a property’s appeal.
Driveway installation choices should reflect not only personal taste but also community standards. Influences such as climate, local architecture, and neighborhood demographics can guide decisions. A driveway that harmonizes with surrounding homes often increases property value. Additionally, selecting a driveway style that resonates with regional characteristics may attract potential buyers, ensuring a strong return on investment.
Eco-Friendly Driveway Options
Eco-friendly driveway options are increasingly popular among homeowners seeking sustainable choices. Materials such as permeable pavers and recycled asphalt not only reduce environmental impact but also provide practical benefits. Permeable pavers allow water to pass through, minimizing runoff and promoting groundwater recharge. Recycled asphalt offers a durable alternative that repurposes old materials, reducing the demand for new resources.
When considering driveway installation, selecting eco-friendly materials can enhance a property’s value while contributing to environmental sustainability. Homeowners can also explore options like crushed stone or gravel, which require less energy to produce and can blend seamlessly with natural landscapes. Adopting green practices in driveway design can attract environmentally conscious buyers and improve the overall appeal of a home.
Benefits of Sustainable Materials
Sustainable materials in driveway installation offer a host of benefits that appeal to environmentally conscious homeowners. Using products like permeable pavers, recycled asphalt, or reclaimed concrete reduces the ecological footprint associated with traditional driveway options. These materials often require less energy to produce and can contribute to reduced landfill waste, making them a greener alternative.
Moreover, sustainable driveways can enhance property value while providing long-term economic advantages. Durable materials tend to require less maintenance and offer greater longevity compared to their conventional counterparts. This reliability translates to savings over time, as homeowners face fewer repair costs. Investing in sustainable options not only benefits the planet but also proves to be a wise financial decision.
Enhancing Functionality with Driveway Design
A well-designed driveway can significantly enhance both accessibility and usability. When planning a driveway installation, it is essential to consider factors such as size, shape, and materials. Wider driveways can accommodate multiple vehicles, providing convenience for larger households or guests. Consideration for additional features like turnarounds or angles can further improve traffic flow, ensuring that residents do not struggle with tight spaces.
Incorporating effective drainage solutions in driveway design is crucial. A driveway installation that includes proper slope and drainage channels can prevent water pooling, reducing potential damage over time. This not only extends the lifespan of the driveway but also minimizes maintenance costs. Additionally, integrating landscaping elements, such as borders or carefully placed plants, can enhance the aesthetic value while maintaining functionality.
Incorporating Features Like Drainage and Space
Effective driveway design goes beyond surface aesthetics; it incorporates practical features like drainage and space optimization. Proper drainage systems divert water away from the driveway, preventing pooling and reducing maintenance needs. This not only extends the life of the surface materials but also protects the surrounding landscape from erosion. Integrating these systems during the driveway installation process ensures functionality is prioritized alongside visual appeal.
Space is another crucial element to consider during driveway installation. Adequate width allows for easy access and parking, accommodating multiple vehicles without creating congestion. Additionally, thoughtful design can incorporate space for landscaping or additional features like lighting and pathways, further enhancing curb appeal. When a driveway meets both functional and aesthetic needs, it often sees a positive impact on property value.
FAQS
What type of driveway is most popular in urban areas?
In urban areas, concrete and asphalt driveways tend to be the most popular due to their durability, low maintenance, and ability to withstand heavy traffic.
How can eco-friendly driveways increase property value?
Eco-friendly driveways made from sustainable materials can increase property value by appealing to environmentally conscious buyers and potentially lowering long-term maintenance costs.
What features should I consider for enhancing driveway functionality?
Consider incorporating features like proper drainage systems, ample space for parking, and even decorative elements that complement your home’s aesthetics to enhance driveway functionality.
Are there specific driveway materials that are better for resale value?
Yes, materials like stamped concrete, pavers, and natural stone often provide better resale value due to their aesthetic appeal and durability, making them attractive to potential buyers.
How can regional trends influence my driveway choice?
Regional trends influence driveway choices as different areas may have specific preferences based on climate, local regulations, and aesthetic styles, so it’s important to tailor your driveway selection to what’s popular and functional in your location.
Related Links
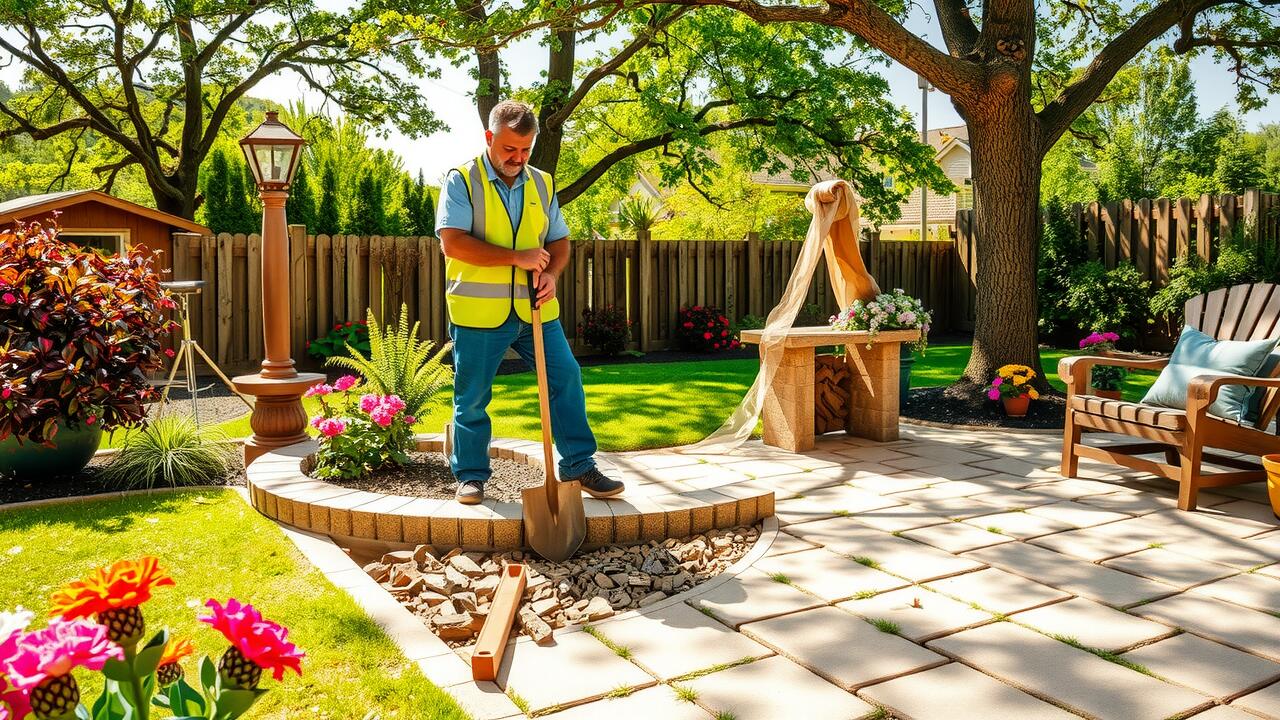
DIY Installation Techniques
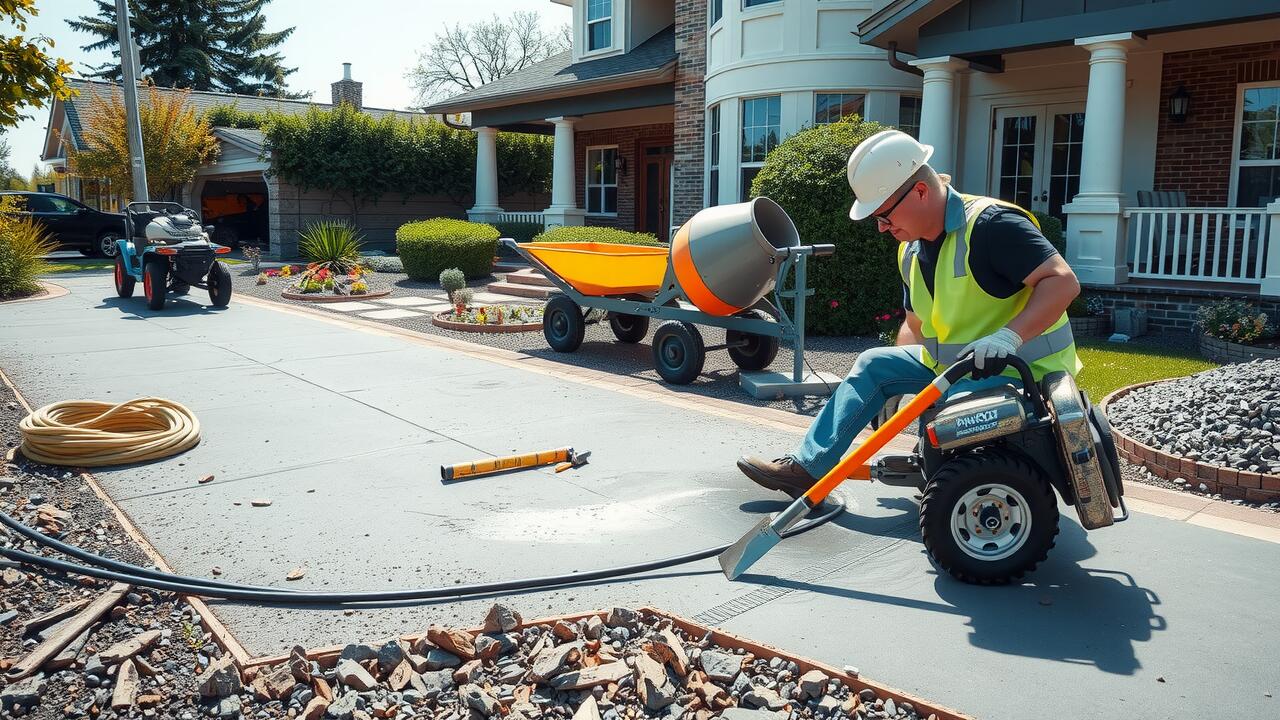
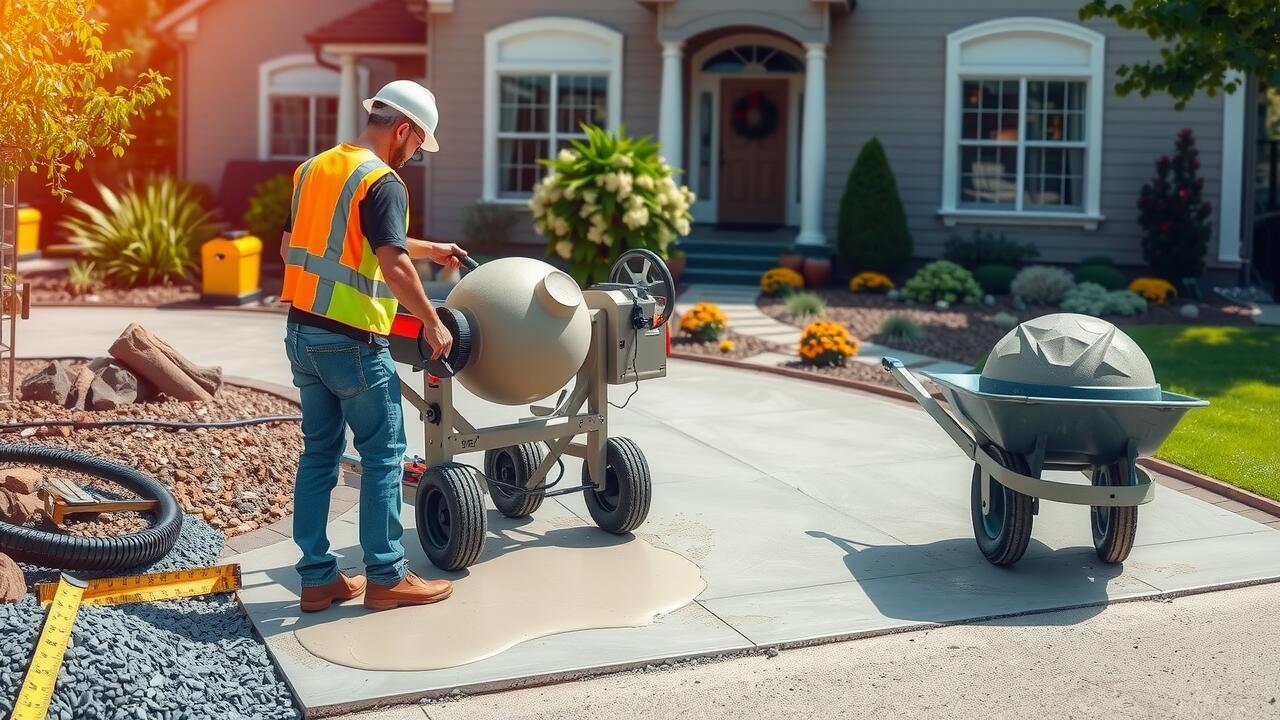
There are several DIY techniques for driveway installation that can help save money while achieving a durable surface. Start by assessing your space to determine the best materials based on your budget and climate. Gravel, asphalt, and concrete are popular choices, each offering unique benefits. For those opting for gravel, preparing a solid base with landscaping fabric and edging materials ensures longevity. If asphalt or concrete appeals more, mixing and pouring the materials may require additional tools but can lead to impressive results.
Preparation is crucial in any driveway installation project. Begin with clearing the area of vegetation, debris, and any old pavement. This creates a clean slate for your new driveway. Next, layout a plan with specific measurements. Using stakes and string can provide clear boundaries. Proper grading directs water away from your driveway, reducing the risk of damage over time. Whatever material you choose, following these steps can ensure a successful DIY project.
Step-by-Step Guide to Installation
Driveway installation begins with careful planning and preparation. Measure the area where the driveway will be placed to determine the necessary materials. Clear the site of any vegetation, debris, or existing pavement to create a level surface. Consider the drainage system to prevent water pooling. Mark the boundaries using stakes and string to ensure accurate dimensions.
Next, start the installation process by digging out the area to the required depth, typically about 4 to 6 inches for gravel and a bit more for concrete or asphalt. Lay a strong base using crushed stone or gravel to provide stability. Compact the material to create a firm foundation. If you are opting for concrete, mix it according to the package instructions before pouring it into the excavated space. Smooth out the surface before it begins to set for a neat finish. Let the driveway cure properly to ensure durability and strength.
Maintenance Tips for Longevity
Regular maintenance is essential for prolonging the life of your driveway. After driveway installation, it’s important to keep an eye out for cracks or surface deterioration. Promptly filling any cracks with a suitable sealant will prevent them from expanding and causing further damage. Additionally, periodic sweeping and washing can help remove debris and prevent stains from settling, ensuring that the surface remains clean and visually appealing.
Applying a seal coat every few years can significantly enhance durability. This protective layer not only keeps moisture at bay but also provides a barrier against UV rays and harsh weather conditions. Furthermore, when planning any heavy activities on your driveway, such as parking large vehicles or placing heavy objects, consider using a protective mat to distribute the weight and reduce stress on the surface. These small efforts can greatly extend the lifespan of your driveway while maintaining its overall integrity and functionality.
Keeping Your Driveway in Good Shape
Regular maintenance is essential to keeping your driveway in good shape. After driveway installation, ensure to inspect the surface frequently for cracks or wear. Addressing minor issues promptly can prevent more significant problems down the line, such as larger cracks that might require costly repairs. Routine cleaning is also beneficial, as it removes dirt, debris, and stains that can deteriorate materials over time.
Sealing your driveway can extend its lifespan significantly. A sealant helps protect against moisture, oil spills, and other harmful substances. Depending on the material used during your driveway installation, the frequency of sealing may vary. Generally, a seal every few years is advisable to preserve the integrity and appearance of the driveway, ensuring it remains both functional and aesthetically pleasing.
Enhancing Curb Appeal on a Budget
Improving the curb appeal of your driveway can be achieved without breaking the bank. Simple enhancements such as adding borders made from bricks or stones can give your driveway a distinctive look. Planters with colorful flowers on either side can create an inviting atmosphere. These elements not only beautify the space but also lead the eye towards your home, creating an appealing first impression.
Incorporating unique patterns into your driveway installation can also elevate its appearance. Many homeowners opt for creative spray painting techniques to add designs. Stenciling with non-slip paint can create a personalized touch while ensuring safety. Using recycled materials, like old tiles or reclaimed wood for decorative features, can enhance the visual interest without incurring high costs.
Affordable Aesthetic Improvements
Creating an appealing driveway doesn’t have to break the bank. Simple enhancements can make a significant difference in appearance. Consider adding decorative borders with inexpensive materials like bricks or stones. These create a defined edge and introduce texture without requiring extensive work. Another approach is to use outdoor paint or sealers to add color or pattern to your driveway surface. This can brighten up the area and make it look more intentional.
Incorporating lighting can also enhance the aesthetic of your driveway. Affordable solar-powered lights provide illumination and create a welcoming atmosphere. Strategically placing lights along the path or borders gives it a polished look. Additionally, planting low-maintenance flowers or shrubs along the sides can soften the hard edges of the driveway. This greenery adds life and color, contributing to the overall appeal of your home while keeping costs down during the driveway installation process.
FAQS
What are some affordable materials I can use to create a driveway?
Some budget-friendly materials for driveway construction include gravel, recycled asphalt, concrete, and permeable pavers. Each option has its own benefits and can be selected based on your specific needs and aesthetic preferences.
How can I prepare my driveway area before installation?
Preparing your driveway area involves clearing the site of any debris, rocks, or vegetation, leveling the ground, and ensuring proper drainage to prevent water pooling. This preparation is crucial for a successful installation.
What are some low-cost maintenance tips for my driveway?
To maintain your driveway on a budget, regularly remove debris, fill in any cracks or holes with appropriate fillers, and seal the surface periodically to protect it from the elements. Keeping it clean and well-maintained can extend its lifespan.
Can I enhance the appearance of my driveway without spending a lot?
Yes! You can enhance curb appeal by adding decorative edging, planting flowers or shrubs along the sides, or using inexpensive decorative stones or gravel. Simple improvements can make a significant impact without heavy costs.
How long can I expect my budget driveway to last?
The lifespan of a budget driveway varies based on the materials used, installation quality, and maintenance. Generally, gravel driveways can last 5-10 years, while properly maintained concrete driveways can last 20-30 years or more.
Related Links
Applying Release Agent
Applying a release agent is a crucial step in the stamped concrete installation process. This agent prevents the stamping mats from sticking to the concrete surface, ensuring that your patterns transfer smoothly. It can be a powder or a liquid, and should be applied evenly to the slab before laying down the stamps. A consistent application helps protect the finish and creates a more uniform textured look.
It is important to choose the right type of release agent that complements the color and design of your stamped concrete. Depending on your desired finish, you can opt for a colored release agent to enhance your patterns further. Make sure to follow the manufacturer’s instructions for the best results, as improper application may result in uneven textures or difficulty in removing the stamps afterward.
Importance of Using Release Agents
Using a release agent is crucial during stamped concrete installation because it helps to prevent the concrete and the stamping mats from adhering to each other. This separation is vital for achieving clean, defined patterns and textures. Without the application of a release agent, you risk damaging the stamped surface as you lift the mats, leading to an uneven look and possible imperfections in the design.
Moreover, release agents provide a protective barrier that aids in the finishing process. They enhance the aesthetic appeal of the stamped surface, often imparting a subtle sheen and accentuating the colors used during installation. By reducing friction during stamping, they allow for a smoother application, ensuring that your stamped concrete installation maintains its intended elegance and durability over time.
Stamping Techniques
When embarking on a stamped concrete installation, choosing the right stamping technique is essential for achieving desired aesthetics. Different methods are available, including the use of texture mats, individual stamps, and specialized tools to create intricate designs. Each technique offers unique patterns that can mimic natural stone, brick, or even wood. The timing of application is crucial; proper placement of stamps before the concrete sets ensures clear, defined impressions.
Understanding the use of tools for stamped concrete installation can enhance the final appearance. Some contractors prefer using rigid stamps for bold patterns while others may opt for softer, more flexible stamps that adapt to the surface contours. The pressure applied during stamping can significantly impact the clarity and depth of the designs. Experimenting with varying pressures and techniques can lead to impressive results, showcasing creativity while enhancing outdoor spaces.
Methods for Creating Textured Patterns
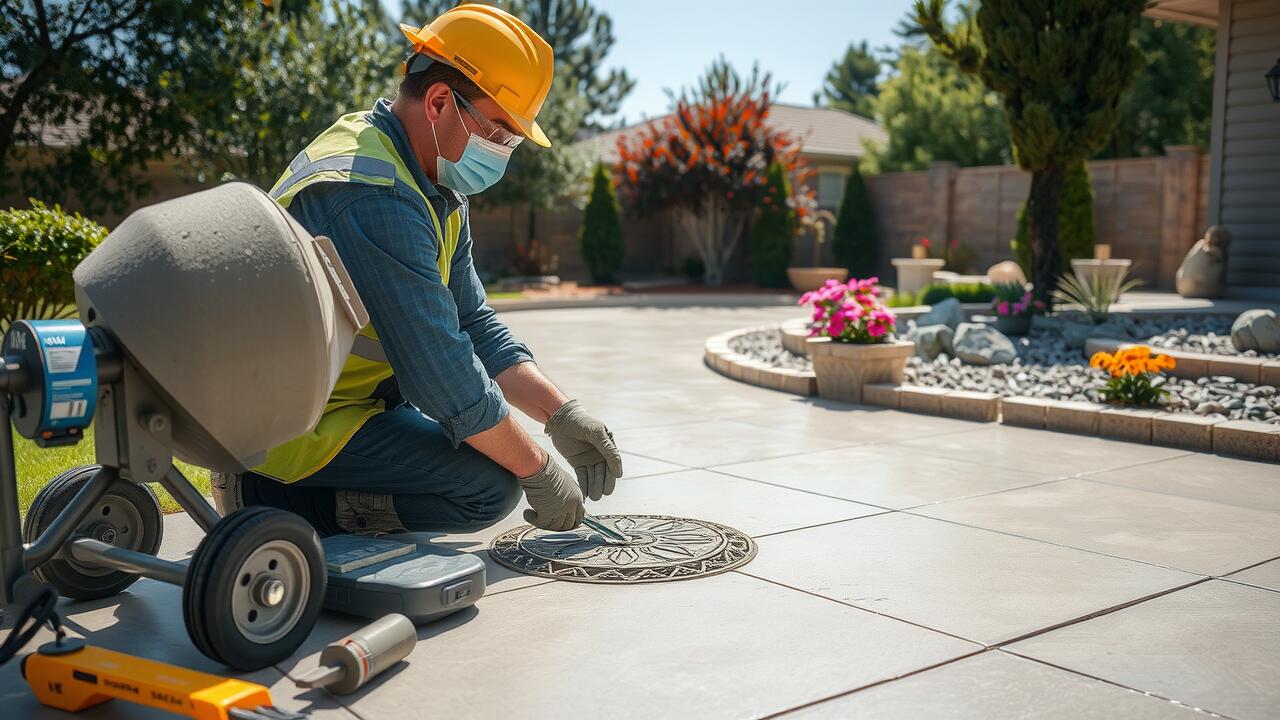
Creating textured patterns during stamped concrete installation involves several effective techniques. One popular method is using stamp mats that come in various designs, mimicking the look of natural materials like stone or brick. These mats are pressed into the wet concrete, allowing for precise replication of intricate details. The choice of patterns can greatly enhance the aesthetic appeal of the finished surface, giving it a unique character that goes beyond plain concrete.
Another technique is the use of color hardeners combined with stamping tools to achieve a two-tone effect. The hardeners add both color and strength to the surface, which can be particularly beneficial in areas that experience high foot traffic. By applying different color hardeners in specific areas, homeowners can create contrast and visual interest. This combination of methods ensures that the stamped concrete installation not only looks appealing but also stands up to wear and tear over time.
Curing Process
The curing process is a critical step in stamped concrete installation that directly affects the final appearance and durability of the surface. After the concrete has been poured and stamped, it is essential to retain moisture and maintain a stable temperature to ensure proper hydration. This can be achieved through methods such as covering the surface with curing blankets, applying curing compounds, or misting water periodically. Each of these methods helps to create an environment conducive to the curing process, allowing the concrete to strengthen effectively.
Taking care of the curing process not only enhances the visual appeal of stamped concrete but also prolongs its lifespan. A well-cured surface is less prone to cracking and other damage from environmental stressors. Timing plays a crucial role; typically, curing should be maintained for at least a week to achieve optimal results. Proper attention to this phase of stamped concrete installation ensures that the final product is both beautiful and resilient against wear and tear from daily use.
Ensuring Proper Curing for Longevity
Proper curing is essential for achieving the desired strength and durability in stamped concrete installations. After the concrete is poured and stamped, it needs adequate time to cure before any substantial load is applied. This period, usually spanning several days, allows the moisture in the concrete to evaporate at a controlled rate, preventing issues like cracking or surface scaling. Using curing compounds can help retain moisture and provide a protective layer over the surface during this critical phase.
Monitoring environmental conditions is also crucial during the curing process. Factors like temperature and humidity can impact how quickly the concrete sets and dries. In hot weather, frequent misting may be necessary to keep the surface moist. In cooler conditions, covering the stamped concrete installation with plastic sheeting or blankets can help maintain warmth and reduce moisture loss. Following these measures ensures that the concrete not only cures properly but also achieves its intended lifespan and aesthetic appeal.
FAQS
Can I do stamped concrete myself, or should I hire a professional?
While it is possible to do stamped concrete yourself, it requires careful planning, the right tools, and some experience with concrete work. If you are new to concrete projects, hiring a professional might be a safer option to ensure quality results.
What materials do I need for a stamped concrete project?
You will need concrete mix, release agent, stamping mats, a trowel, a float, a concrete mixer, and possibly color additives. It’s important to have all materials ready before starting the project.
How do I apply the release agent for stamped concrete?
The release agent can be applied using a sprayer or a brush. Ensure that you cover the surface evenly before pouring the concrete. This will help prevent the stamping mats from sticking and create a clean texture.
What are some effective stamping techniques for beginners?
For beginners, it’s best to start with simple patterns and use a consistent technique when applying the stamps. Press the mats firmly and evenly into the concrete, and avoid lifting them too early to ensure a clear imprint.
How long should I wait before curing my stamped concrete?
After pouring and stamping the concrete, you should wait at least 24 to 48 hours before beginning the curing process. This allows the concrete to set properly and prevents damage during the curing phase.
Related Links

Regional Cost Variations
Concrete costs can vary significantly across different regions due to factors such as labor rates, material availability, and demand. In urban areas where construction is booming, prices tend to be higher because of increased demand for skilled labor and resources. Conversely, rural areas may offer more competitive prices, but the availability of qualified contractors could be limited. Additional regional factors like local building codes and regulations might further influence installation costs.
The type of concrete finish selected can also contribute to cost variations. For example, stamped concrete installation typically involves more intricate artistry and labor compared to standard concrete slabs. This not only affects the basic pricing but may also lead to higher costs for decorative elements that some regions may find more desirable. Understanding these regional nuances can help homeowners make informed decisions when planning a concrete project.
Impact of Local Market Conditions
Local market conditions play a significant role in determining the overall cost of pouring a 24×24 slab of concrete. Factors such as supply and demand, competition among contractors, and availability of materials can vary widely across different regions. In areas where the demand for construction is high, prices for labor and materials may increase. This inflation can extend to specialized services like Stamped Concrete Installation, which often requires additional skill and resources, leading to a greater cost for consumers.
Additionally, local regulations and building codes can influence prices. If a region has strict requirements for structural integrity or environmental standards, contractors may incur higher expenses to comply with these laws. These extra costs can also affect the pricing of Stamped Concrete Installation, as contractors may need to invest in specific certifications or permits. Understanding these local market conditions is crucial for homeowners looking to budget accurately for their concrete projects.
Seasonal Considerations
Seasonal factors can greatly influence the cost of pouring a concrete slab. Warmer months often see an increase in demand for concrete services, leading to higher prices due to the competitive market. Contractors may also charge more during peak construction seasons, where more projects are being undertaken. Subsequently, homeowners might face challenges scheduling work during these busy times, which can further drive up costs for timely completion.
In contrast, colder months can present a different set of challenges. Cold weather can complicate the pouring and setting process, potentially requiring additional precautions like heated enclosures or special additives. These extra measures can increase both labor and material costs. Additionally, when considering specific finishes, like Stamped Concrete Installation, the timing of the project can impact the availability of skilled labor and the quality of the final result.
Weather Effects on Pricing
Weather can significantly influence the pricing of concrete projects. High temperatures during the summer may necessitate additional measures to ensure proper curing, which can increase labor costs. Cold weather presents different challenges, often requiring the use of heaters or insulating blankets to maintain the right conditions for setting the concrete. These adaptations not only extend the project timeline but also lead to added expenses in materials and labor.
Rain and moisture also play a crucial role in pricing, particularly for projects like Stamped Concrete Installation. Wet conditions can delay pouring, leading to scheduling conflicts and increased costs. Moreover, unexpected rain can impact the quality of the finish, prompting contractors to include additional fees for risk management and rework, all of which contribute to the overall cost of the concrete slab.
Size and Thickness Considerations
The cost of pouring a 24×24 slab of concrete can vary significantly based on its size and thickness, especially when considering the specific application such as stamped concrete installation. Typically, a standard thickness of four inches is recommended for most applications, which balances durability and cost. Thicker slabs may be necessary for heavier loads or certain design elements, resulting in an increased volume of concrete needed and higher overall expenses.
Additionally, the design choices can further influence pricing. Stamped concrete installation, for example, requires not only the basic concrete mix but also additional materials and labor to create the decorative finish. This can raise the cost compared to a standard flat slab. The complexity of the stamped design and the specific materials used, such as color additives or sealants, can also play a crucial role in determining the final price of the project.
How Dimensions Affect Overall Cost
The dimensions of a concrete slab significantly influence the overall cost of the project. A 24×24 slab, while straightforward in its measurements, can still present various factors that affect pricing. For instance, thickness choices can lead to different material requirements, impacting both labor and material costs. Thicker slabs generally necessitate more concrete, increasing expenses accordingly. Additionally, the area to be covered may require more intricate foundation work, particularly if it’s on uneven terrain or demands more preparation.
When considering stamped concrete installation, dimensions play a crucial role in determining the complexity of the design and the labor involved. Larger areas often allow for more extensive patterns, which can drive up costs due to additional design work and the need for specialized techniques. Moreover, if the design has multiple colors or finishes, it requires more skilled labor and materials, further adding to the expense. Careful consideration of both size and desired aesthetics will lead to a more accurate budget and a clearer understanding of the overall investment needed for a concrete slab.
FAQS
What is the typical cost range for pouring a 24×24 slab of concrete?
The typical cost range for pouring a 24×24 slab of concrete can vary widely, but it generally falls between $600 and $1,800 depending on various factors such as materials, labor, and regional pricing.
How do regional costs affect the price of a concrete slab?
Regional costs can significantly affect the price due to variations in local labor rates, material availability, and market demand. Urban areas may have higher costs compared to rural locations.
Are there any seasonal factors that can influence the cost of pouring concrete?
Yes, seasonal factors such as weather conditions can influence the cost. Spring and summer may have higher demand and pricing, while extreme cold or rainy conditions can delay projects, potentially increasing costs.
Does the thickness of the slab impact the overall cost?
Yes, the thickness of the slab directly affects the overall cost. Thicker slabs require more concrete and reinforcement materials, which increases both material and labor expenses.
What additional costs should I consider when pouring a concrete slab?
Additional costs to consider include site preparation, permits, reinforcement materials (like rebar), finishing options, and any necessary drainage or landscaping work around the slab.
Related Links
Damage from Environmental Factors
Neglecting to seal stamped concrete can lead to significant damage from environmental factors. Rain, snow, and extreme temperatures penetrate the concrete surface, causing cracking and spalling over time. Water infiltration can erode the base layer, compromising the stability of the installation. Additionally, freeze-thaw cycles can exacerbate these issues, as trapped moisture expands within the concrete, leading to further deterioration.
Ultraviolet (UV) rays from sunlight also take a toll on unsealed stamped concrete. Prolonged exposure can cause the colors to fade, diminishing the aesthetic appeal and reducing the lifespan of the surface. The vivid patterns achieved during Stamped Concrete Installation risk becoming muted and dull if the protective barrier is absent. As environmental wear increases, the frequency of repairs and restoration efforts rises, leading to higher long-term costs for homeowners.
Effects of Weather and UV Exposure
Exposed stamped concrete is vulnerable to various weather conditions, which can lead to significant deterioration over time. Rain, freeze-thaw cycles, and extreme heat can chip away at the surface, causing cracking and spalling. Without a protective seal, moisture penetrates the porous material more easily, potentially leading to structural issues beneath the surface. Stamped Concrete Installation requires careful attention to weatherproofing to enhance durability.
UV exposure poses another threat to unsealed stamped concrete. Sunlight can hasten the fading of vibrant colors, diminishing the aesthetic appeal that freshly installed stamped patterns provide. Over time, this exposure can also weaken the concrete itself, making it less resistant to physical impact and environmental stressors. Regular sealing helps to guard against these adverse effects, ensuring that the investment in Stamped Concrete Installation retains its original beauty longer.
Maintenance Challenges
Unsealed stamped concrete can lead to greater maintenance challenges over time. Without a protective seal, the porous nature of the concrete allows for easier penetration of dirt, grime, and moisture. This absorption can result in more frequent cleaning and upkeep to preserve the appearance of the surface. Property owners may find themselves allocating more time and resources to maintain the vibrant colors and intricate patterns initially achieved during the stamped concrete installation.
Increased wear and tear on unsealed surfaces can also necessitate more frequent repairs. As the concrete ages without proper protection, small cracks and surface damage may develop. These issues can escalate, leading to costly repairs down the line. Regular inspections and immediate attention to any signs of distress become critical to preventing more significant deterioration, making the overall maintenance of an unsealed stamped concrete surface burdensome for homeowners.
More Frequent Repairs and Upkeep
Without sealing stamped concrete, property owners may encounter a range of maintenance challenges that elevate the need for more frequent repairs. The porous nature of unsealed concrete allows for easier ingress of water and other elements. This can lead to cracking and crumbling over time, eventually necessitating costly repair work. Regular inspections become essential, as neglecting these issues can exacerbate the damage and result in more extensive and expensive fixes.
In the long run, the initial investment in stamped concrete installation can be undermined by ongoing maintenance difficulties. Homeowners may find themselves dealing with resurfacing or patching more often than anticipated. The lack of a protective seal can also invite weeds and grass to infiltrate joints and cracks, further complicating upkeep. Routine maintenance practices take on a higher importance when the concrete remains unsealed, highlighting the necessity of committing to continual oversight and repairs.
Staining and Discoloration
Unsealed stamped concrete is highly susceptible to staining and discoloration. This porous material allows liquids and debris to penetrate its surface, leading to unsightly marks that can be difficult to remove. Common culprits include oil, rust, and food spills, which can seep into the concrete and change its appearance. Without a protective seal, the vibrant colors and patterns from the stamped concrete installation may begin to fade or become marred over time.
Additionally, environmental factors can exacerbate these staining issues. Rain, mud, and even leaf debris can leave behind residues that stain the surface. As the concrete ages, the risk of discoloration increases, diminishing the aesthetic appeal that an initial stamping process can provide. Regular exposure to these elements without proper sealing opens the door to a range of discoloration challenges that homeowners must address.
Common Sources of Stains on Unsealed Concrete
Unsealed stamped concrete is particularly susceptible to a variety of stains that can diminish its visual appeal and integrity. Oil spills from vehicles can penetrate the porous surface, leaving behind dark splotches that are difficult to remove. Additionally, rust from metal furniture or tools can create unsightly marks when exposed to moisture. Even organic materials, such as leaves or food, can lead to discoloration, especially when left to decompose on the surface for extended periods of time.
Another common source of stains on unsealed concrete is the accumulation of dirt and grime from foot traffic and environmental pollutants. When rain or snow washes these contaminants onto the surface, they can settle into the concrete. Over time, the effects of foot traffic can exacerbate this staining, contributing to a less desirable appearance. Proper care following a stamped concrete installation is essential to prevent these aesthetic issues from becoming permanent fixtures.
FAQS
Why is sealing stamped concrete important?
Sealing stamped concrete is important because it helps protect the surface from environmental factors, such as moisture, UV rays, and stains, which can lead to damage and a decrease in aesthetic appeal.
What kind of damage can occur if stamped concrete is not sealed?
If stamped concrete is not sealed, it can suffer from cracking, chipping, and fading due to weather exposure, leading to costly repairs and maintenance challenges over time.
How does weather affect unsealed stamped concrete?
Unsealed stamped concrete is susceptible to moisture infiltration, freeze-thaw cycles, and UV damage, which can cause the surface to deteriorate, resulting in discoloration and structural issues.
What maintenance challenges arise from not sealing stamped concrete?
Without a sealant, stamped concrete requires more frequent repairs and upkeep, as it is more vulnerable to damage and stains, leading to higher long-term maintenance costs.
What types of stains are common on unsealed stamped concrete?
Common sources of stains on unsealed stamped concrete include oil spills, food and beverage spills, rust from metal objects, and organic materials like leaves or dirt, which can all lead to discoloration.
Related Links

Color Application Techniques for Stamped Concrete
Coloring stamped concrete can be achieved through several effective techniques that enhance its visual appeal. One common method involves using integral color, which is mixed directly into the concrete during the batching process. This approach ensures consistent color throughout the entire slab. Another popular technique is the application of colorants or antiquing agents after the concrete has been installed. These can add texture and dimension, allowing for various finishes that resemble natural stone or other materials.
When it comes to stamped concrete installation, the timing of the color application plays a crucial role. For both integral colors and topical applications, it’s essential to apply them at appropriate stages to ensure proper adherence and longevity of the finish. Additionally, utilizing sealers can help preserve the color and enhance its vibrancy over time. Selecting the right technique based on project requirements can lead to stunning results that enhance outdoor spaces.
Best Practices for Achieving Desired Results
To achieve the best results during stamped concrete installation, proper surface preparation is essential. This includes cleaning the existing concrete thoroughly, filling any cracks or imperfections, and ensuring the surface is dry before applying any color or stamp. Using a release agent can also help prevent the stamps from sticking to the surface, resulting in a cleaner pattern. Choosing the right stamps and color combinations is crucial, as they can significantly enhance the overall appearance of the finished product.
Maintaining consistency throughout the stamping process contributes to a polished look. Employing a team with experience in stamped concrete installation can ensure uniformity in color and texture application. Regularly checking the stamps and color distribution during the application can help identify any irregularities early on. Sealing the stamped concrete properly once the curing process is complete will enhance the vibrancy of the colors and protect the surface from wear over time.
Long-lasting Color Options for Stamped Concrete
When considering long-lasting color options for stamped concrete, one critical factor is the type of pigment used during the Stamped Concrete Installation. Integral pigments are mixed directly into the concrete, ensuring that the color permeates the entire slab. This technique not only enhances the aesthetics but also provides a level of durability that surface-applied colorants cannot match. The colors derived from integral pigments tend to be more resistant to fading over time, which can be especially beneficial for outdoor installations exposed to the elements.
In addition to integral pigments, liquid hardeners and sealers can be employed to further enhance the longevity of the color in stamped concrete. These products create a protective layer on the surface, helping to shield the color from UV rays, moisture, and general wear and tear. Regular application of sealers after the initial Stamped Concrete Installation can help maintain the vibrancy of the colors while providing additional protection against staining. Selecting high-quality materials and applying them correctly is essential for achieving the desired long-lasting results.
UV Resistance and Durability
When considering stamped concrete installation, UV resistance is an essential factor to ensure the longevity of the color and finish. High-quality pigments and sealers can significantly enhance the ability of stamped concrete to withstand prolonged exposure to sunlight. UV-resistant formulations help prevent fading, ensuring that the vibrant colors of the concrete maintain their aesthetic appeal over time.
Durability is equally crucial in stamped concrete installation. The materials used play a significant role in how well the surface holds up against wear and environmental factors. A well-executed installation process that includes a reliable sealing technique can protect against moisture infiltration and weather-related damage, contributing to the long-term integrity of the colored surface. Prioritizing both UV resistance and overall durability will result in a visually striking and resilient concrete feature.
Custom Color Blends for Stamped Concrete
Creating custom color blends for stamped concrete allows homeowners and contractors to achieve a unique aesthetic that enhances the visual appeal of outdoor spaces. By mixing multiple colors, it is possible to replicate natural stone or other materials, giving surfaces a more authentic look. This technique provides flexibility in design, enabling the adaptation of shades to complement existing architecture or landscaping. Careful consideration during the mixing process ensures that the final result meets the desired color intensity and pattern.
During stamped concrete installation, the chosen color blends should be applied consistently to maintain uniformity across the surface. It’s essential to test small samples before committing to a specific blend to visualize how it will appear once set. This trial can prevent potential disappointments and aid in making adjustments as needed. Ultimately, custom color blends can transform ordinary concrete into stunning features that elevate the overall design of any outdoor area.
Creating Unique Looks
Creating unique looks with stamped concrete allows homeowners to personalize their outdoor spaces. By experimenting with a variety of colors, patterns, and textures, each project can reflect individual style. Techniques such as antiquing, color washing, and integrating multiple shades can enhance the overall aesthetic. These methods provide flexibility in design, ensuring that the final product stands out.
During the stamped concrete installation process, using custom color blends can truly set a project apart. By combining different pigments, contractors can achieve one-of-a-kind colors that mimic natural stone or other materials. This level of customization provides the opportunity to match existing surroundings or create a bold statement in any landscape. The result is an eye-catching addition that elevates the entire outdoor environment.
FAQS
What is the most popular color for stamped concrete?
The most popular colors for stamped concrete typically include earthy tones such as tan, brown, and gray, as these hues closely mimic the appearance of natural stone and provide a versatile look for various outdoor spaces.
Can I customize the color of my stamped concrete?
Yes, you can customize the color of stamped concrete. Many contractors offer a variety of color options and techniques, including integral colors, surface stains, and color hardeners, allowing you to create a unique look that suits your style.
How do I choose the right color for my stamped concrete project?
When choosing a color for your stamped concrete, consider the surrounding environment, the architectural style of your home, and personal preferences. It’s also helpful to view color samples in natural light to see how they will look in your space.
Will the color of stamped concrete fade over time?
While stamped concrete is designed to be durable, the color can fade due to UV exposure and weathering. To minimize fading, use UV-resistant color options and apply a sealer that provides added protection against the elements.
What color application techniques are recommended for stamped concrete?
Recommended color application techniques for stamped concrete include using integral colors mixed into the concrete, applying color hardeners on the surface, and using acid or water-based stains after the concrete has cured. Each method offers different aesthetics and durability.